
Building a HTPC/Media Center with Raspberry Pi
12 Sep 2015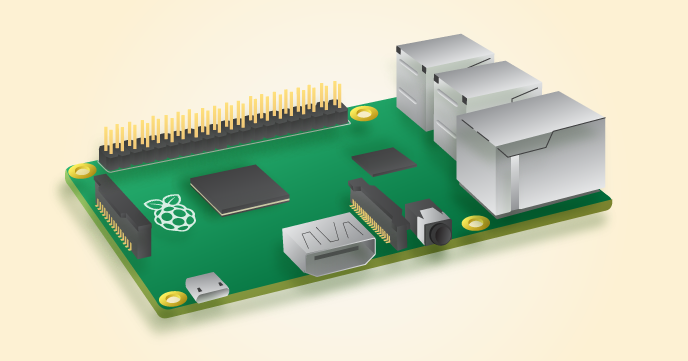
In this post I’ll show you how to build your very own entertainment hub in about a $100 bucks. It should be capable of doing almost everything that a Roku, AppleTV, AmazonTV or Chromecast can do and more.
Requirements:
Hardware
- Raspberry Pi 2
- SD Card - There are many SD cards floating around with pre-installed software for RPi but I chose to purchase a new one so I have control over the size and type of the card.
- Case - There are many good choices for cases out there. I went with the clear case but now RPi has an official case which looks pretty good as well.
- Micro USB Cable (recommended) or AC Power Adapter
- Ethernet Cable (recommended) or Wireless USB Adapter
- HDMI Cable
- Wireless Keyboard
Software
- Boot Loader - We will use a software called NOOBS which is a boot loader for RPi that makes installing new operating systems on the device a piece of cake.
- Platform/OS - There are couple of open-source media center platforms that you can use for your setup such as Kodi, Plex and Emby. I decided to go with Kodi since I found it to be very customizable with a wide variety of available plugins. There are couple of OSes such as OpenELEC, OSMC and Xbian which are specifically geared towards running Kodi on RPi. I went with OSMC since it’s actively maintained with regular updates, it’s based on Debian and has a pretty good UI/UX. So that’s what I’ll be focusing on in this guide.
Steps:
Once you have all the required hardware, we are ready to put this thing together!
- Format SD Card
- Download & install SD Formatter 4.0 for your platform.
- Insert your SD card into the computer or SD card reader and make a note of the drive letter allocated to it, e.g. G:/
- Run SD Formatter, select the drive letter for your SD card and format it.
- Install NOOBS
- Download NOOBS (offline and network install)
- Extract the files from the zip.
- Copy/paste all the files from the extracted NOOBS folder into the SD card.
- Hookup RPi
- Insert the SD card into your RPi
- Now place the board in the case. If you bought the clear case listed above, it should be easy to snap on, no screws required.
- Plugin the ethernet cable to your router/switch. If you don’t have easy access to the ethernet port, hookup the wireless USB adapter instead. Although keep in mind wired setup will generally be faster compared to wireless.
- Connect the HDMI cable with your TV
- Plugin the USB adapter for the wireless keyboard
- Lastly, plugin the power source. If your TV has an USB port, use that so your RPi is only powered on while your TV is on. If that’s not an option, hook it up to the standard AC adapter. RPis are designed to stay powered for a long time, so other than the minor inconvenience of manually turning it off, it’s a safe option.
- Install OSMC
- Now switch your TV source, you should see your RPi booting up to the NOOBS screen.
- Once booted, on the selection screen, choose OSMC and hit “Install”.
- Follow the wizard steps to complete the installation.
- All done! - Now that you are all done, there are couple of things you can do to make your experience with Kodi/OSMC even more enjoyable
- Download the official remote apps from their respective app stores so you can control your Kodi without the keyboard. Although I’ve had better experience with Yatse on Android and SYBU on iOS. Just make sure to give it permissions by going to
System -> Settings -> Services -> UPnP/DLNA -> Allow remote control via UPnP - If you use Chrome, download the Play to Kodi extension so you can send content from sites like YouTube to your Kodi from your browser. Again make sure appropriate permissions are given by going to
System -> Settings -> Services -> Web server -> Allow remote control via HTTP - Kodi also supports HDMI CEC which lets you control it from your TV remote, make sure to enabled by going to
System -> Settings -> System -> Input Devices -> Peripherals -> CEC adapter -> Enabled. Click here to check if you TV brand supports it. - Lastly, add SuperRepo to your Kodi to get access to thousands of addons. Here’s the step-by-step instructions on how to go about installing it.
- Download the official remote apps from their respective app stores so you can control your Kodi without the keyboard. Although I’ve had better experience with Yatse on Android and SYBU on iOS. Just make sure to give it permissions by going to
That’s it for now. Comment down below and let me know how it worked out. Enjoy!