
How to setup an asp.net website on localhost
12 Sep 2008First lets start by setting up the site in IIS…
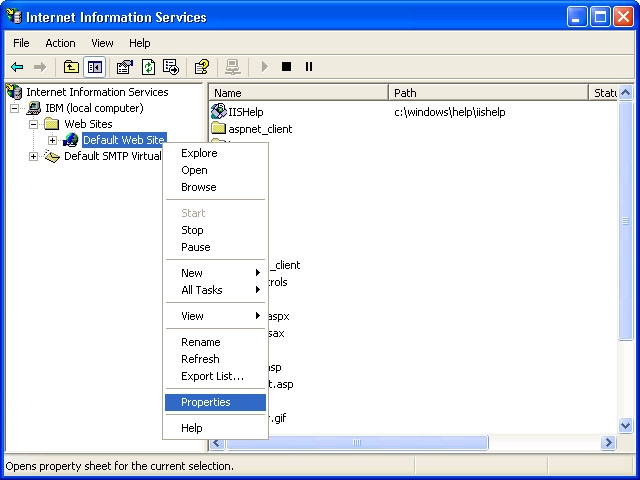
1.Open IIS by double-clicking on Control Panel->Administrative Tools->Internet Information Services
2.Right Click on Web Sites->Default Web Site
3.Click on Properties->Home Directory and choose the location of your website
Now lets give the ASPNET account the appropriate permissions to access that directory…
-
Using My Computer or the Windows Explorer, navigate to the folder containing the website you choose in the previous step
-
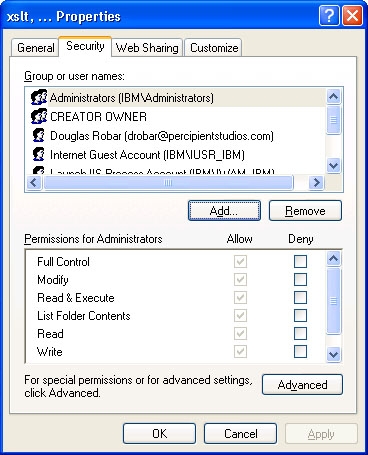
Right click on the folder and and go to Properties->Security
-
On the Security tab, click on Add to locate the ASPNET account
-
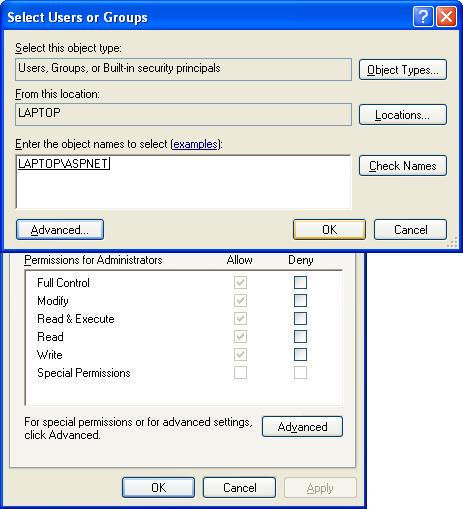
Click on Locations and select the local machine
-
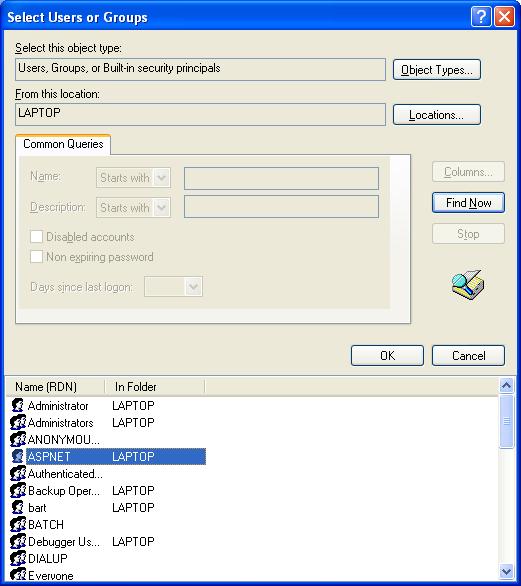
Click on Advanced->Find Now to list all the user accounts on your local machine
-
Choose ASPNET and click on OK. (If you don’t see ASPNET account in there, go to step 11)
-
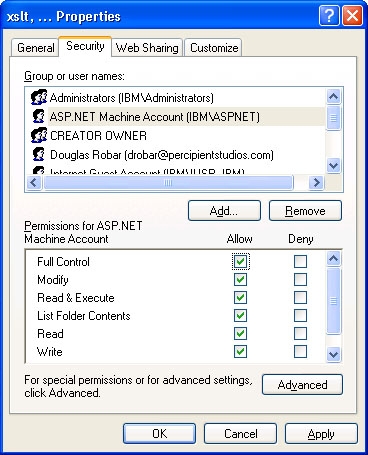
Return to the security tab. Select the ASPNET user account and check the Full Control checkbox under the allow column. Click OK.
-
Thats it! You should now be able to go to http://localhost/ in your browser window and see your website.
If you don’t see an ASP.NET account in Step 8 then…
- Run “C:\WINDOWS\Microsoft.NET\Framework\v2.0.50727\ aspnet_regiis.exe -i -enable” in the command line window and then repeat steps 1 through 10.
Following steps are optional. They help you configure your web project to automatically reference the local web-server when you run or debug a site instead of launching the built-in web-server itself…
-
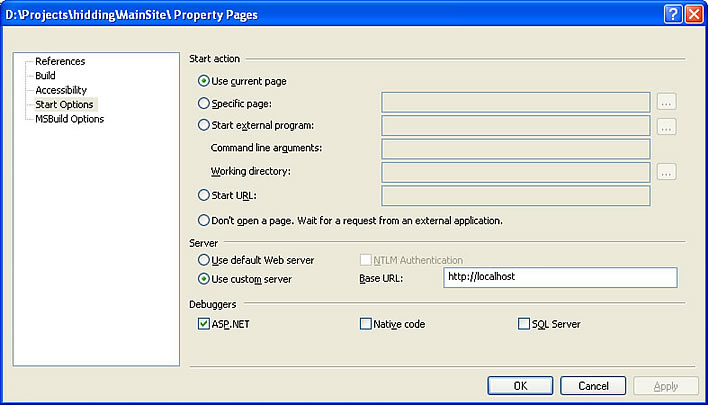
Open Visual Studio and select your web-project in the solution explorer, right click and select Property pages.
-
Select the Start Options from the left navigation, and under Server change the radio button value from ‘Use default Web server’ to ‘Use custom server’. Then set the Base URL value to be: http://localhost/
Now, when you click on any page in the app and then hit F5 or Ctrl-F5, the IDE will use the local web-server instead of popping up its own.